The Project: Origami Engagement Invitations
The Cost: ~ 35.00 (This can vary depending on how much paper you use, what kinds and textures you use, and how big you make your invites!)
First things first
1. Do your research - if you have a specific feel or theme you are trying to convey, take the time to look at some magazines or surf the Internet. It can help you brainstorm and get your creative juices flowing.
2. Stay true to who you are as a couple! - if you are laid back people, don't go all crazy over a wedding that's not you. If you are a bit more on the darker side, go for that Gothic wedding or Halloween wedding. If you are more traditional, keep it simple!
3. Decide on your theme- is it by theme or color? if so, what colors?
4. How big do you want your invites? square? rectangle? etc...note that square invites (which we did) cost more to do. The envelopes are more money and so is the postage. We didn't care but you may, in which case, just make yours a regular type of invite.
5.Make sure you can get envelopes to your size invite- I know it sounds dumb, but i had to check envelope sizes first before starting so I would know that I could buy envelopes separately. You would hate to do all that work and than have no way to send them!
**6. Pick a light colored envelope!! I learned this the hard way. I wanted black envelopes with white lettering but little did I think about the fact that a printer doesn't print white! so now what? I had to go buy white labels so I can type on those and stick them on the envelope! What a waste of time and money!
7. Compile a guest list and a list of addresses - This will help you determine how many invites you need.
*Remember it goes by couple, not person! so 50 people=25 invites!
1. 12x12 scrapbook paper (since our colors were black white and red, i bought a full 12x12 black and white paper set which was 20.00. I used a 50% off coupon from Michaels and got it for 10!) - We got rid of the colored ones after creating many of them because we didnt like how it looked,lesson learned!
2. Inside cardstock paper - to use as your invites, for the wording. You can get 12x12 paper or 8x11. We had red paper already so I just used that.
3.White cardstock (we used this for the direction cards, but you can use whatever you want)
4. Inside envelopes (for the direction cards-we used secret envelopes because the invite was a riddle. We had to cover the direction cards but also include them in case people didn't get the riddle!)- You can still make this fun, we put : caution: opening will ruin the fun, on ours
5.Outside envelope to hold the invite and direction card -* We used black, but don't do that unless your okay with the white labels!
6. Black cardstock- used for backing on direction cards
7. Glue runner
8. White labels from staples. (had a coupon and got a rebate so it cost me about 4.00)
9.Printer
10. A patient and involved fiance..xoxo
Step By Step Directions:
1. Trim paper to the desired size. (we used 5 1/2x5 1/2 invites so our paper had to be cut to 11x11 in size)
**Make sure your invite is somewhat smaller than your envelope so you know it'll fit. Our envelopes were 6x6 so we made the invites smaller**

We did the invites in colors like this and then after creating about 11 of them, decided to go with black and white...oh boy!
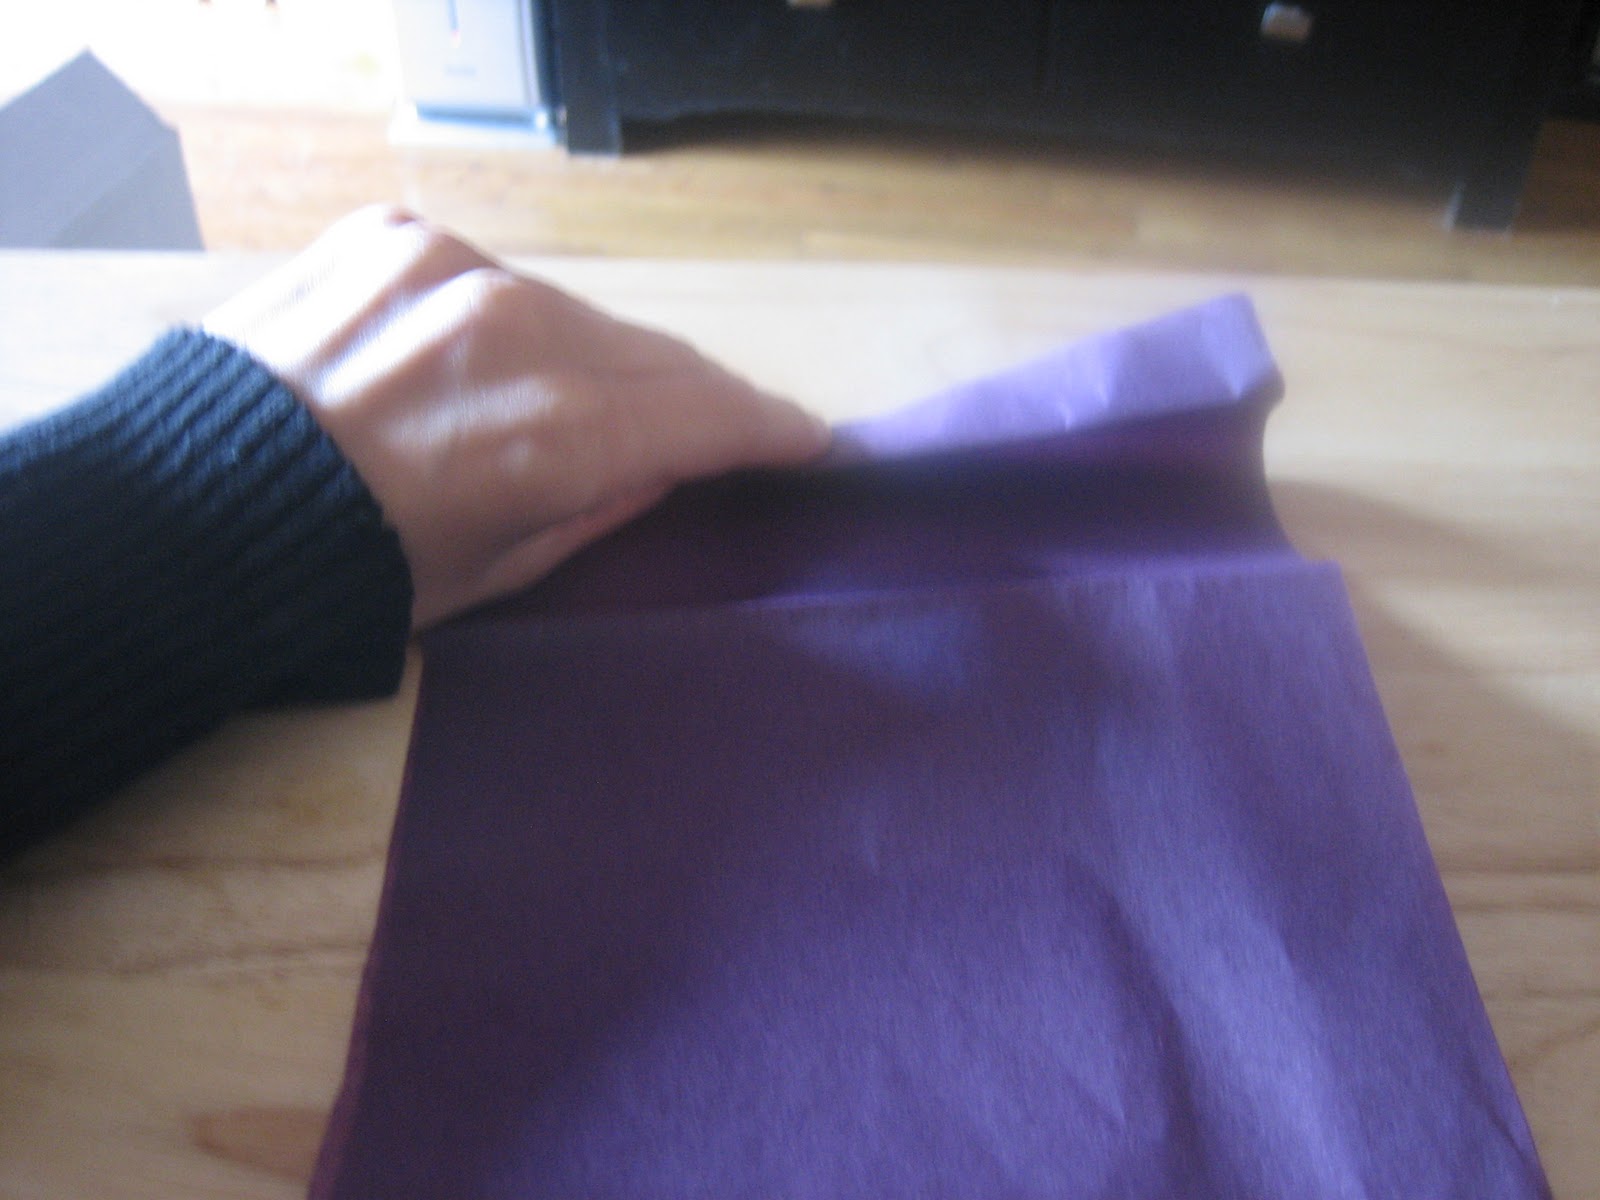
2. Fold one side of paper over to the other, making sure it stays even.
3. Pinch ONLY the top portion to mark the middle of the paper
4. Do this for the top and bottom
5. Rotate paper and do the same things again. Pinching the top and bottom,
6. Open up paper and you should see FOUR pinch marks, all in the middle of the sides.
**This will be your marker for everything else you do**
7.Fold on side into the middle of the paper (or up to your marker) and crease the paper.
8. Fold the other side to meet the newly folded piece as well. Crease.
9. Unfold and rotate paper
10. Fold the new sides into the middle as you just did with the other sides
11. After you creased the sides, unfold all sides. Your paper should look like this:
12.Take one corner and fold into the middle, hitting the middle pinch markers that you made originally.
13.Crease and unfold.
14. Repeat this for the remaining 3 sides. Then unfold
This is where the invite comes together!
15. Now that you made all your creases, start folding them into each other beginning with the first fold we did. Go side by side and the paper will kind of follow your creases and fold into the invite the way its suppose to.
*Fold one side to the middle.
*When you get to the corner,you will need to fold the triangle piece inward so that the outside makes another square (Its hard to discribe)
*Fold the adjacent side into the middle and you can get a better idea as to how the corners will fold inwards creating a square laying on top.
*Press in the smaller triangle pieces and press down on the square piece thats now above.
*Go over the creases again so make sure they stay.

Continue this same routine for all four corners, pressing the sides into the middle and pressing in the triangles to create an upper square.
*Notice how the triangle pieces are being pushed inward as to create the upper square. The paper may want to start to create this look on its own because of all the creasing and itll help you along.
*When you get to the last two corners, you can simply press the middle triangle in. This creates a kind of "M" look to it. See picture to the left.
*Be sure that the corners are poked in and are nice and pointy as shown here.
*This pic shows how that middle trangle is pressed it. This forces the other folds to begin to bend, creating the new folds you need.
*Press each square flat.
*Go over the creases one more time to make sure they are flat. Once you complete this you can put them all under a heavy surface
Completed Origami Invites!
Do this as many times as you need. we did 25.
Now for the inner part of the invite!
1. Open one of your invites and measure the inside square. It should be that 5 1/2x 5 1/2 dimension but just make sure.
2. Whatever size it is, write it down. That will be the tracer for your invites.
3. Take your backing paper (the color you want to be seen after you place the actual invite on top) and trim to the size you needed, smaller squares.
4. Make 25 or as many as you need.
5. Flip paper over and use the glue runner to make a square on the edges.
6. Place down on the origami invite and press down with your fingers to make sure it adheres.
7. Do this 25 times or as many as you need.
Now its time for the invite itself! - Don't make the mistake I did, which was cutting my paper first. Always print first and then cut!
1. Depending on what size your inside backing paper is, shorten it by 1/4 on each side...which means it'll come in by 1/2inch...so 5 1/2x 5 1/2 becomes 5x5. This is your new invite size. ALL WORDING MUST FIT ONTO THIS SQUARE!
2. Open up word or photoshop and create a 5x5 square so you have a marker point for your words.
3. Create your invite in that space.
4. Choose fonts and colors
5. Print. (you may only fit one on a page or maybe 2)
6. Cut the invite out into your 5x5 size.
7. Glue the back of the invite and place on the backing paper (For us, we did the red invite on the black backing)
Your actual invite is complete!!
Now for the secret direction cards! **Note that this direction card will be in an envelope and that envelope has to fit into the invite itself...this means the envelope needs to be smaller than 5 1/2x 5 1/2. ...and that means that the actual directions have to be smaller than that to fit into that envelope!)
1. Figure out the size that you need for your inside envelope. (ours was 5x5 to play it safe-I got them from the $1 store)
2. Based on the envelope size, decide your direction card size. We took off 1/4 on each side making the card 4.5x4.5
3. Decide on a backing color. We chose black.
4. Trim the black paper to 4.5x4.5
5. Make 25 or as many as you need.
5. Take 1/4 off each side again for the actual writing on a separate paper (that means the inside square is now 4x4)
**Do not cut first...PRINT first, then cut!**
6. Go on computer and create a 4x4 box to help you keep your writing in.
7. Create your direction cards
10. Glue the back of the paper and stick to the backing (in our case, we used white directions on black backing)
11. Take blank white envelopes and stick into printer.
12. Print your "CAUTION" label on each one- or you can print on regular paper, cut out and glue to the envelope.
***Once secret direction cards are finished, place them into your invitation before sealing them with the bellyband!!*** I know thats an obvious statement, but just in case. :-)
Now, the way you keep the invite closed is up to you. You can order stickers or make a belly band or leave them as is! We chose a ribbon belly band. This is how it was done:
1. Choose a color ribbon and purchase from Michaels
2. Wrap you invite in the ribbon so it reaches all the way around to get the size of ribbon you will need for each envelope.
**Make sure to let the ribbon overlap somewhat. This will be needed in order to glue the ribbon onto itself**
3. Take ribbon off and use it to cut the remaining ribbon quicker. I find it easiest to lay the cut ribbon flat on a table and then roll the other uncut ribbon right next to it, cutting it the same length each time. Goes faster.
**You can also hold the ribbon infront of you and let it dangle, cutting it where it needs to be in the air. This is also quick**
4. Place ribbon aside and create ring "stickers" (This will cover the ribbon ends and make it look more complete)
5. Choose a backing color. Ours was red. Cut out whatever size square you think you want. Do this as many times as needed.
6. Next, Stamp your design onto your top paper as many times as needed. Then cut them out.
7.After cutting out each of your stamped squares, flip them over and use your glue runner on the back.
8. Attach them to the red backing.
9. Now its time to attach the ribbon and your stamped closer.
10. Wrap your invite with your ribbon and glue it onto itself so it is closed tightly.
11. You can then attach the seal in two ways: You can glue the ribbon as seen below and then press the seal on top of it...or you can put glue down the middle of the stamped seal and place onto the ribbon. Whichever one you want to do will work fine.
And here is your finished invitation!!!
Now to do the finishing touches!
1. Create labels for the envelope and stick them on.
2. Get stamps that fit your style and put on. **Bring one invite to the post office so they can tell you how much itll be for each envelope. Since they are heavier and thicker, two stamps were needed**
3. MAIL THEM OUT!!! :-)
We had a blast making these invites. Although we hit a few glitches, we couldn't have asked for a better outcome. We were both so pleased with the work we did, and we enjoyed some quality time making them together. I hope you enjoyed this project and give it a try on your own. Make a few test ones first and you'll see you can do it pretty easily on your own!
Thanks for reading! Check out my next post to see what else this DIY couple has come up with!