The Cost: ~30.00-40.00 **Price depends on how many boxes you are making and what you make to decorate it** This project price is based on over 50 boxes with 2 types of ribbon and tissue paper flowers. This price also includes this project as well as the centerpiece project.
The Story:
As soon as we had our placed picked out, I knew that I wanted to use take-out boxes. I already knew I wanted to use them for the centerpieces and then I thought about using them as favors with a cupcake inside. I thought it would be cute to use them and then place a pair of chopsticks somewhere on the box to make it look like you had just come from the restaurant. I ran out to my nearest asian food market and picked up a bag of 100 chopsticks for 2$. I still have many extra left over and Ill use them for something else somewhere along the line.
First Things First:
1. Decide whether or not you want to give favors out per couple or per person. If you do per couple, youll do less work but if you plan on only doing one cupcake in each box you may want to think about doing it per person or adding 2 cupcakes per favor box. We did per person so we made 50 boxes. Alot of work but well worth it!
What you'll need: **This is also a picture for the favors so some of the things in this picture won't be needed for this project but I didnt have 2 pictures. Follow the list.***

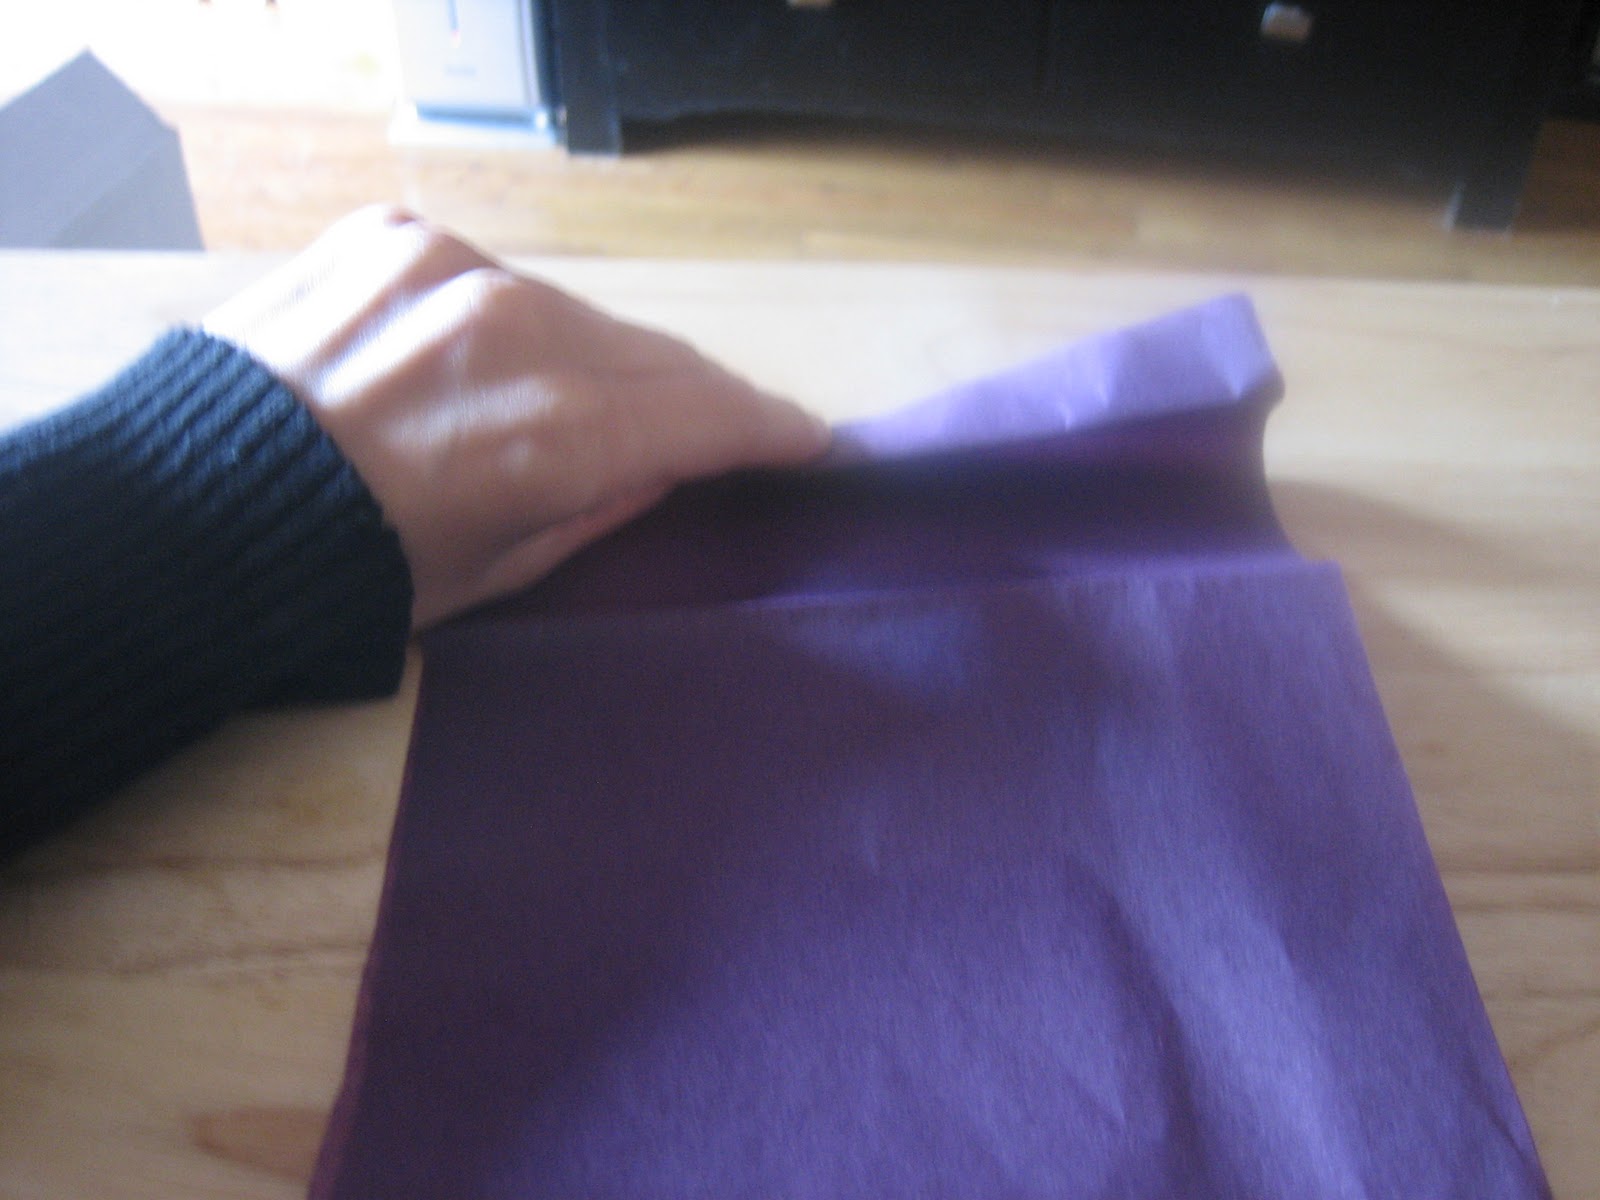
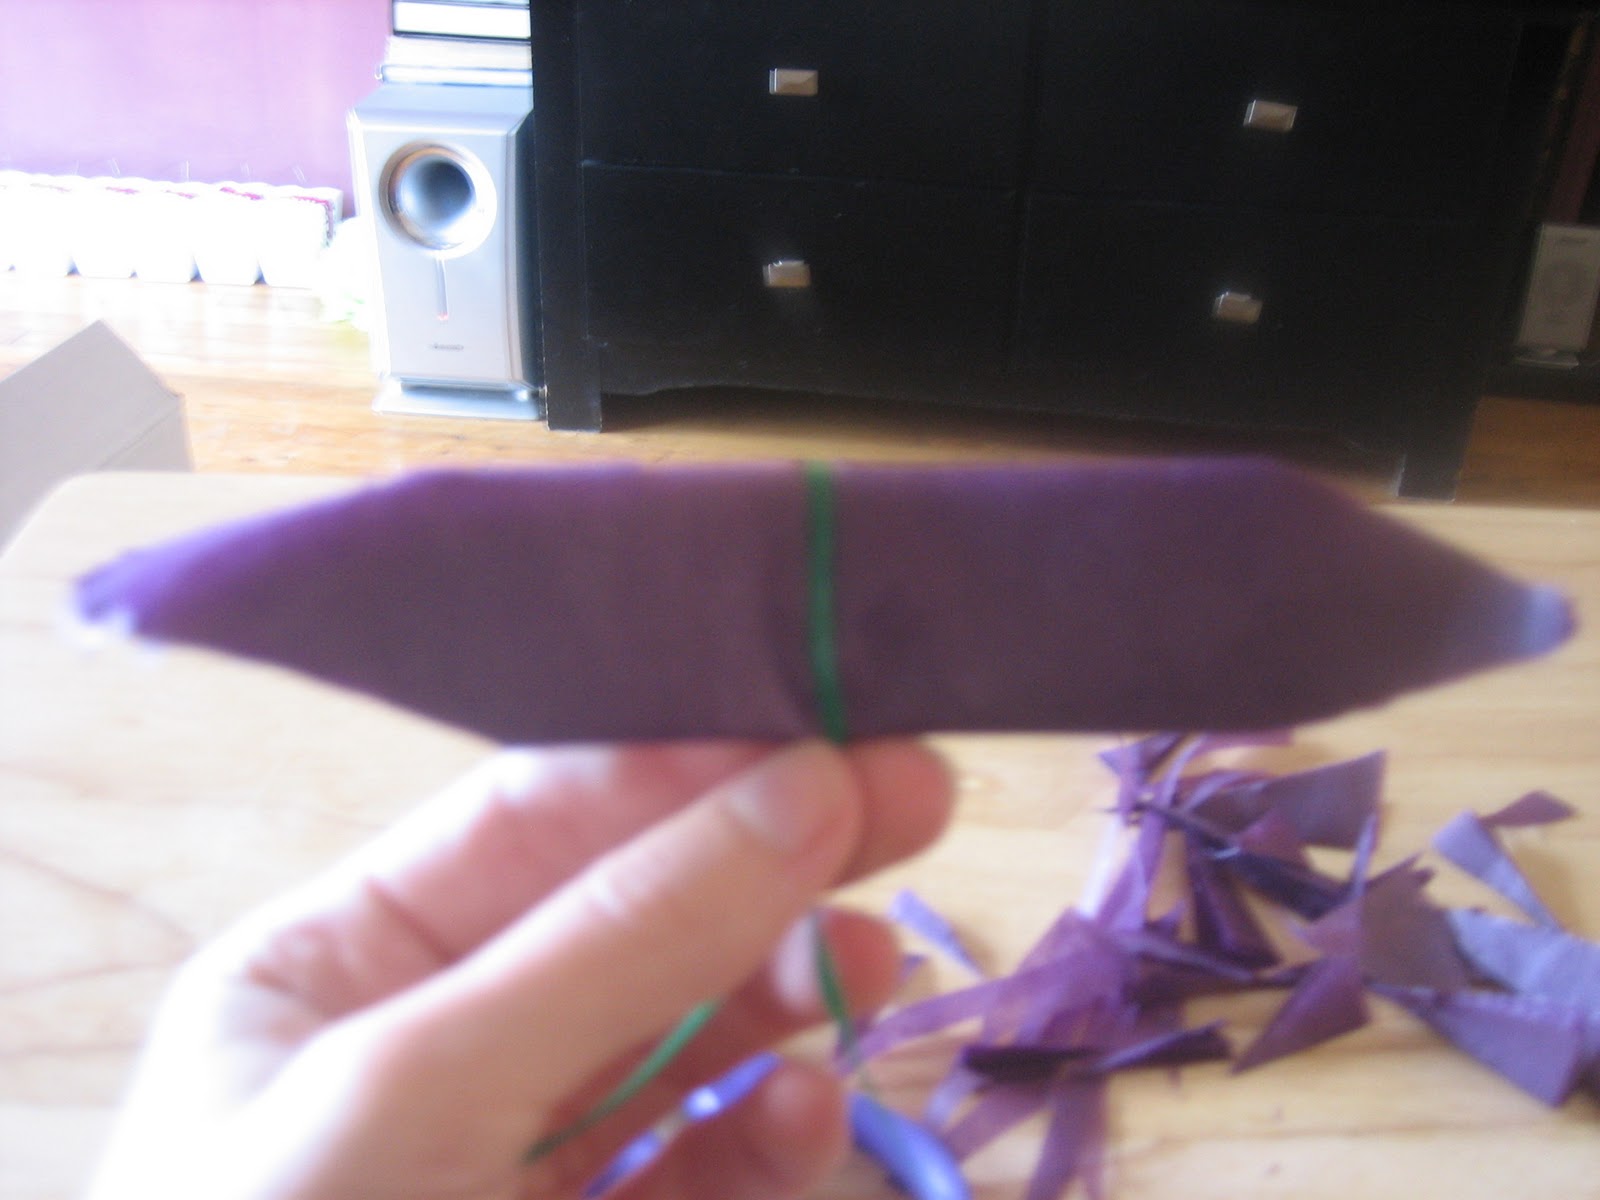
2. Tissue paper from the dollar store in your choice of color, buy more packs than youll need. Its easier than stopping a project to go get more materials.
3. Ribbon (1 or 2 styles, colors, and sizes) We chose two. (Michaels sometimes has 2 rolls for 5$, try to go when they have this or print a few coupons out, go with some friends and buy each roll seperately to save $)
4. Glue Runner (I already have one so I just needed refill packs...3 for 10.00, with 40% was 6$)
5. Hot glue gun and glue sticks (dollar store)
Step by Step Directions:
1. Order your materials! and pick up the other materials from the stores
2. Pick a base ribbon and lay it flat on a table.
3. Place your takeout box onto the ribbon and wrap the ribbon all the way around to see how long you will need each piece to be.


5. Take the remainder ribbon and use the cut piece as your marker. Cut as many as needed.


7. Place the box , with a base ribbon (doesnt have to be attached but hold it on there just to get an idea),onto the top ribbon.


11. Take your base ribbon and lay it upside down on the table so you can put glue on the back.
12. Use glue runner all along the ribbon and attach to base ribbon.


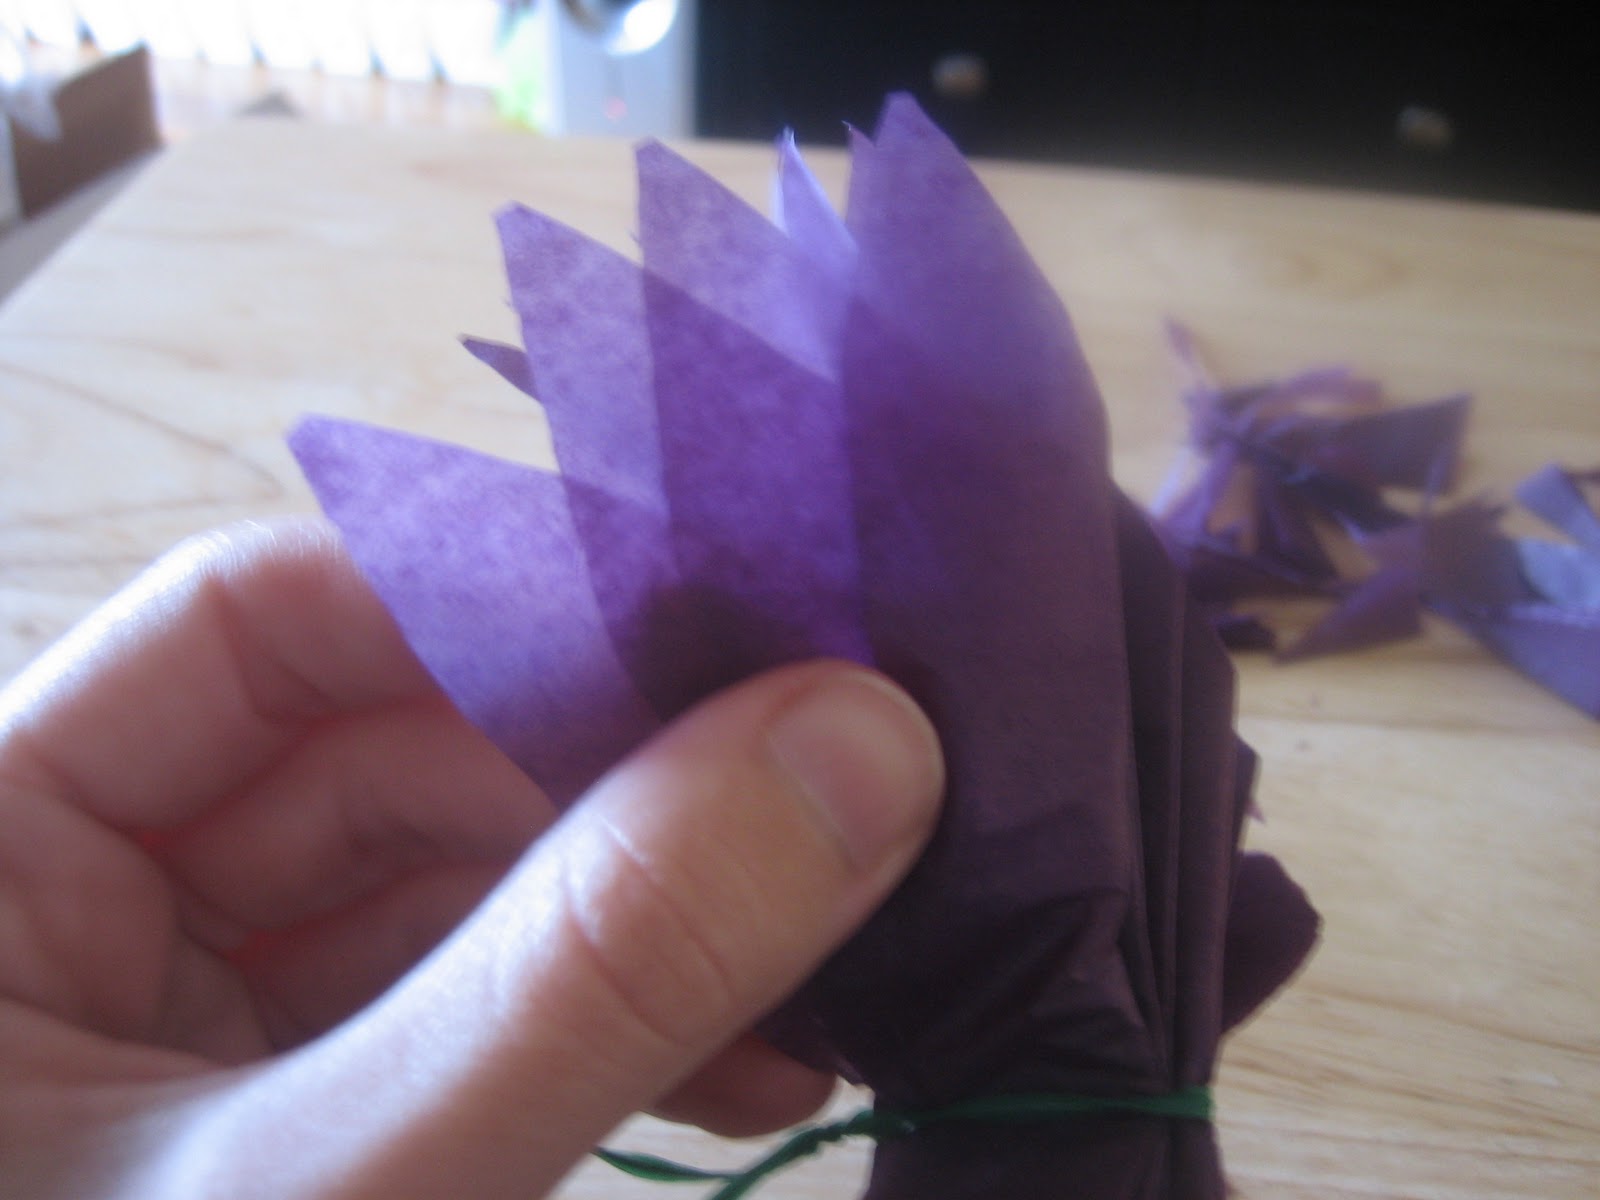
**The tops dont have to be perfect because they will be covered with the tissue paper flower. **
**I suggest lining the bottoms with some type of paper or doily, I go 50 for 1$ at the dollar store**
***Flowers cant be glued on until after cupcakes are in the box and boxes are sealed up***
All done!
Hope you enjoyed this project. For directions on how to make a sushi cupcake, please see my next post!
Thanks for reading!