The Project: Will You Be My Bridesmaid? - Belly Bands for Envelopes
The Cost: ~1.00-3.00
*Mine cost me $1 because I used excess paper and bought ribbon on sale from Michaels*
(If you use your excess paper, this project can cost as little as $1.00 for the ribbon) If you need to buy more paper, the cost can vary depending on what you choose.


The Story:
Since I went with the layered look with everything else I had to do something to these envelopes that would do them justice. I wasnt really sure what I wanted to do with my black/Brown envelopes and after a few days, I decided to basically copy the belly band idea that I did previously. I still had extra paper so I knew I wouldnt have to spend any money. When I went to Michaels for the ribbon, I bought this one on sale for .99. Works for me!! The ribbon used on my MOHs envelope was .50 from AC Moore, which previously had from the poems.
First Things First:
**Place invites into envelopes before going on**
1. Decide what you want to do to your envelope. You may decide to just address them, throw a stamp on it and call it a day.
2. If you want to copy what I did, choose your colors.
3. Find any extra paper that you think you can use and get any new paper that you think you will need.
4. Have fun with it! If you mess up, you can always find a way to fix it. I messed up several times but figured out ways to get around it and you cant tell in the end.
What You Will Need:
1. Ribbon (.99)
2. Paper (however many you need, .59-.99)
3. Finished envelopes with invites inside!
4.Glue Runner
5.Printer
6.Any embellishments (I used flowers I already owned)

6.Any embellishments (I used flowers I already owned)

Step By Step Directions
1. Take your completed envelope, with opening in the back, and place on a flat surface.
2. Take a piece of ribbon , starting in the middle of the envelope, and wrap it around the envelope until both sides meets again. Make sure the ribbon isnt too loose*Leave some room, at least an inch to place the glue to stick to the other side of ribbon*
3. Cut.
 4. Take your glue runner, and glue that inc space we left and attach it to the other side of the ribbon. Press down.

5. Take whatever color paper you will use as your base color, and pick an appropriate size for your envelope. (I made mine large because my envelopes were big). My first color was orange.
 6. Once you determined your size, mark it on your paper with a ruler and cut it to that size.

7. Place the paper onto the middle of the ribbon and see if that size works for you. If its too small, make a new one. If its too big, cut it some more.
8. Cut as many more as you will need. I needed 6, so I made 6 total and placed to the side.
9.Once you get the size you want, take your next color paper. Mine was brown. Mess with it ontop of the other paper to see how much smaller you will need.
 *As you can see, my brown paper was cut too small at first. I had to go back and do it again :-(*

10. Mark and cut the piece of paper. Make as many as you need. I needed 6.
11. Put this new piece on the first piece and see if you like how it looks. Fix it as needed, cut it more or create a new one. (I had to redo mine the first time around)
12. Set Aside.
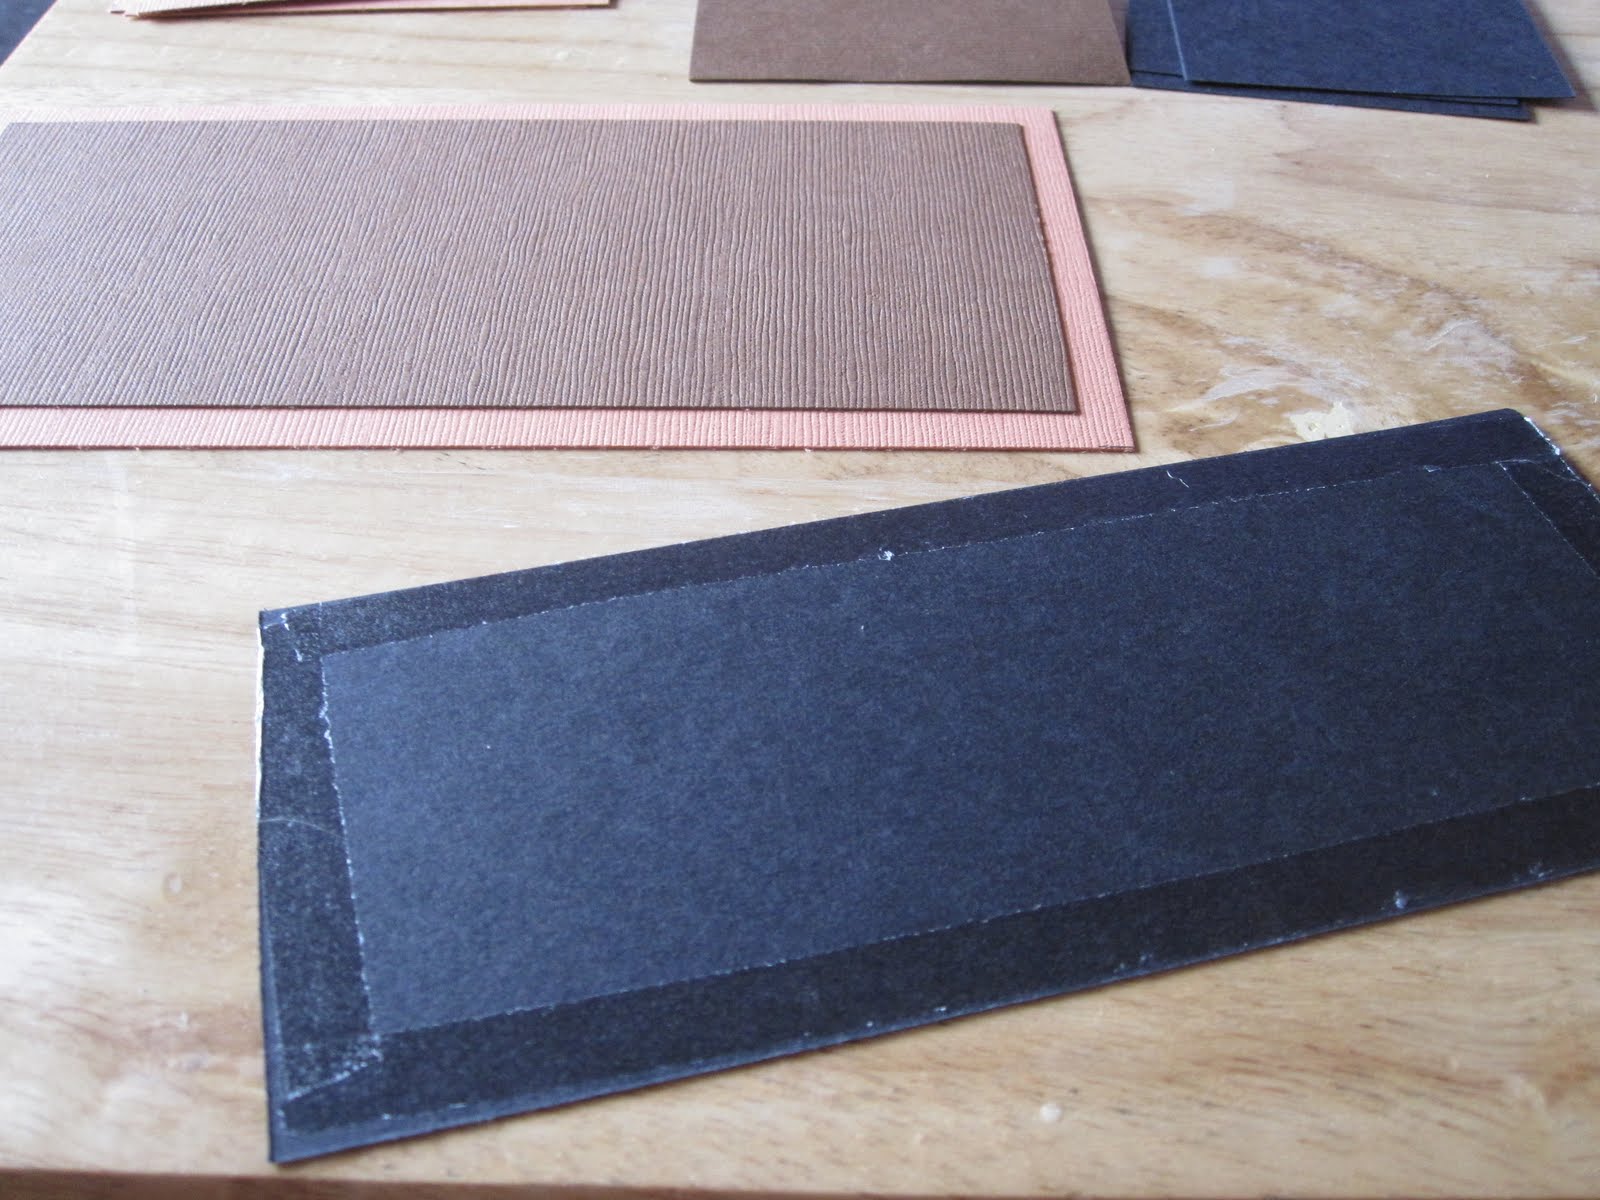
13. Take your next color, mine was black, and measure the size you want.
14. Mark and cut to size. Double check the size.
 15. Create as many as you need and place to the side in piles. I made 6.

Now Its time to put it altogether! The FUN part!- I just love watching everything come together and actually start looking as you wanted it to.
16. Take all your cut outs and place them in front of you so you can easily place them onto eachother.
17. Form basically an assembly line, you can do all 6 envelopes at once, or one at a time. I did one at a time.
18. Take your largest color paper, mine was orange and place it on a flat surface.
19. Take the next color (mine was brown) and glue the back of it with the glue runner.

 20. Once you placed glue on the back, place it onto your first paper (for me, i placed the brown onto the orange)


21. Next, do the other color (Mine was black).
22. Glue the back of the black paper.
 23. Place the black paper onto the brown paper. (or whatever colors you used)


26. Place the paper into your printer, write your ladies names into Word, pick colors and sizes and print out.


27. Once printed out, Cut the names off the paper to the size needed to stick onto the other layers.

29. Stick an embellishment onto the one corner. I used a flower, you can use whatever.
30. Take your finished name tags and place them onto the envelope with the ribbon around it.
31.When you have a basic idea of where it will lay, its time to glue. Glue only a line, down the middle of the bottom paper...or instead of gluing the paper, put glue on the ribbon and place the paper ontop of it.
**Do not glue the whole back of the paper. If you do, the ribbon will be stuck on the envelope and the band wont come off which means they cant see their cards!**


Finally! The whole card invite is completely done! It only took like four seperate projects! :-) BUT, well worth it, Trust me!!
**To make the label alittle different for your MOH, you can do something like I did on the black envelope. To do your band that way. This is what you can do:
1. Get a hole puncher and punch two holes on the completed name. Find the middle first on top and bottom so you have an idea where they go before you make the hole.


2. Take one end of your ribbon and place in the bottom hole.
3. Drag the ribbon around the back of the envelope and around to the front. This will give you an idea of how long your ribbon will need to be before you actually cut it.
4. When you decided how long your ribbon is to be, cut it about an inch or two longer than needed as a "just in case" kind of thing.
5. Now that you have your cut piece, place one end of the ribbon back into the bottom hole.
6. Let the ribbon hang down so you can make sure the ends hang evenly.
7. Once they are even, take both pieces in your hand and wrap them around the back of the envelope.
8. As you come up to the top hole, place both ends of the ribbon through the hole at the same time.
9. Make sure the label looks the way you want, and then tie a bow!
I gave these to my bestests, and they loved them. The expressions they had when they first opened them were so genuine and made me so happy!!
For more projects, and to keep up to date with all the DIY projects Ill be doing for my own wedding, check out my other posts :-)
No comments:
Post a Comment