The Project: "Will You Be My Bridesmaid?" - Custom Envelopes
The Cost: $4.00 (Lakeshorelearning.com has construction paper for 1.99 in various colors. 50 sheets come in each pack, and come in two sizes. I recommend the bigger size of 12x18 because its the same price but you get more paper which you can use for other things later on) *If you buy paper anywhere else, it will be more like $4-$6.00 on average as Ive searched around for the best possible price.*

These envelopes were made using construction paper,scrapbook paper, ribbon, and glue.
The Story
Trial and Error! Those two words I have used alot along this DIY adventure. I say this because when creating these great little gifts, I never took into consideration what they would actually be placed in. An envelope! But after creating the invites, I realized, who has envelopes in the "Custom" size I just made. After a quick search, I realized I was on my own. I never made my own envelopes before but it looked as though I had no choice now. So the first thing I did was, measure the largest parts of my invite to figure out what size envelope they would need to be set into. Then, I need to find paper that I could use without using multiple sheets, this is where the construction paper came in and why I had to in paticular get the larger 12x18 size. I bought construction paper in muliple colors for future projects and also because if Im going to pay for shipping, I rather not do it multiple times.
First Things First
1. Decide what colors you want your envelopes to be, and if you will have more than one color (perhaps a different color for the MOH)
2. Order them from lakeshorelearning.com or any other store that supplie it if you dont want to wait for shipping.
What You Will Need (Sorry, I dont have a main photo for this)
1. Construction paper in whatever color you need (lakeshorelearning.com 1.99)
2.Glue (actual glue not the glue runner, the runner wouldnt stick for some reason) and Glue runner for names
3.A ruler (1.00) I already had one so its not reflected in the price.
4.A flattener (2.00) I already had one so its not reflected in my price.
5.Printer
6. Harder paper for a template,maybe oaktag (Dont make the mistake I did, I used trial and error and never bothered to create a template that I could keep for further use on other projects)
Step By Step Directions - I apologize for all the steps in this one, but it took awhile to figure out what to do and to actually put together so this part will be described in detail with many pics. Hope it helps! This can also be used to make any size envelopes you want if you ever need for anything else!
A few things to remember that you may not have taken into consideration until it was too late:
1. The envelope needs to be bigger than the actual invite so it slides in an out easily
2. If you want a flap at the bottom and top, remember to leave more space at the top and bottom. (use your eye to determine whats enough, there is no right or wrong dimension)
3. Leave space for the envelope to be glued to another part of the envelope
Now for the Real Directions:
1. Have ready your completed Doll invite (dolls, poems, and belly band wrap)
2. Place a piece of 12x18 construction paper on the table in the color of your choice.
3. Place the Doll Invite onto the paper all the way to the ends, but leaving about 1/4 inch on the right side and and at least 1 to1 1/2 inches on the bottom. Thats where the glue will go later on and where it will fold over.

*Notice how close the doll is to the end on the right and how much more is left at the bottom*
4. Fold the excess paper thats on the left side over the doll to determine if and how much excess paper needs to be chopped off. In my case, I precut mine to the shape I needed but the second picture below is a pic of the excess paper being cut off.


*The right side is what I measured out for the Invite and the left side was the excess that I eventually cut off and used to make the belly bands.*
5. After cutting off any excess, measure out how much paper you want at the top. **Remember that the top needs to be longer than just 1/4inch. I would leave 1 to 1 1/2 inch because you will want to fold it over to make it look like an actual envelope.

*Once again, cut off any extra paper that wont be needed. The rectangle that is left will eventually become your envelope! Even though it doesnt look ike much now, youll be shocked at the end result!*
6. Place Invite back onto the cut paper, leaving the room on top, bottom and right side. Mark on the paper with a pencil where you will make the fold.
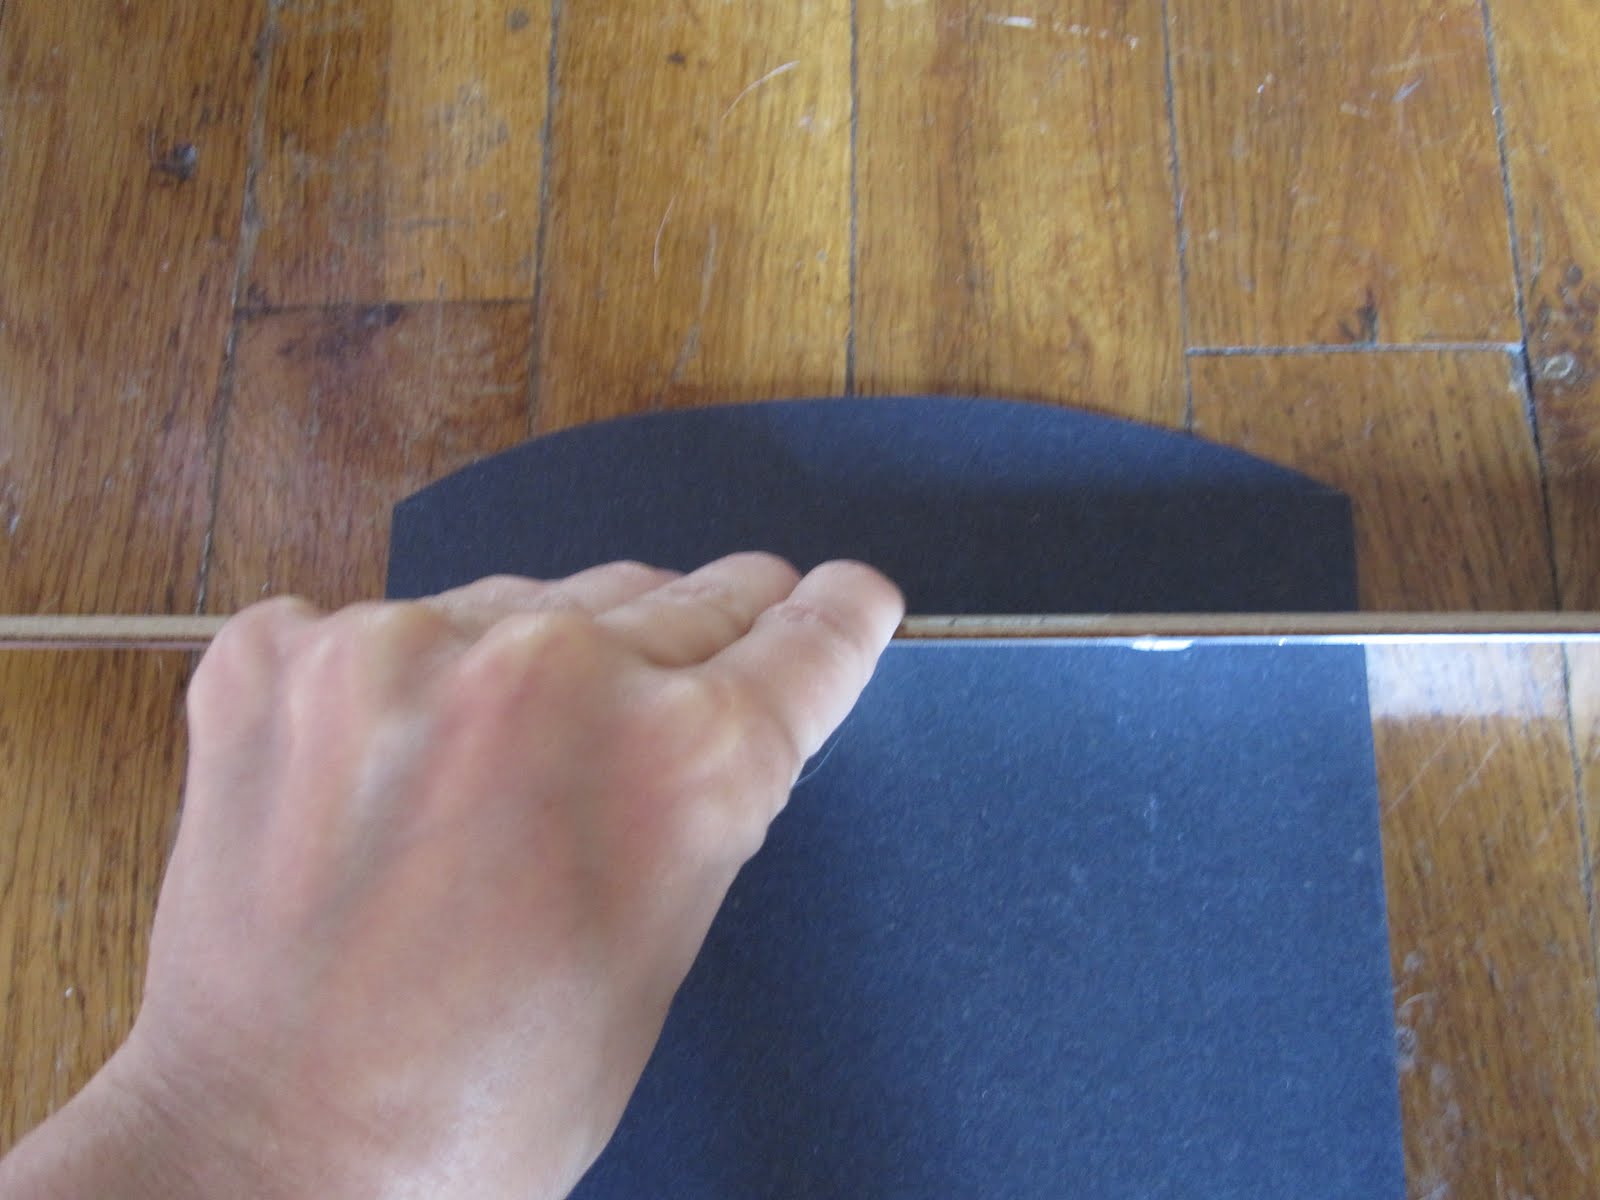
7. Take a ruler, or just do it free hand, and fold paper over creatin a crease where marked

*I use a ruler to give me a nice clean line, but you do not need to do it with one*
8. Flatten the paper out again somewhat, but you should have a decent crease. Now onto the smaller crease to the right side that we will use as means to glue the envelope together.
9.Find that 1/4inch space we left on the right side of the paper and place the ruler on the 1/4 line in order to crease. Fold paper over.

*This side is harder to do because its a smaller fold.Be careful to go slowly because the paper can rip. Its not that thick.*
10. You now should have two creases in your paper. Does it look like an envelope yet? :-) Prob. not!

11. Place the invite back into the envelope and fold it over to make sure the creases you made hold the card correctly.
12. Once it fits correct, leave a decent space at the top and bottom so we can get started on making some cuts and folds.
13. Notice below that once I placed my invite, I drew a line on the left side of my paper at the exact spot the invite ends. This is because we will not be using all this paper and need to cut parts off. (This is where the visualization came into play for me because I had to figure out in my head, how an envelope works which sounds easier than it was)

*Ok this is where it gets more complicated, so I hope I can explain it good enough. Ill do my best!*
14. The flap on the bottom of an envelop usual can be seen on a finished envelope, which means that in order to get that feel, the bottom part of the right side will be doing the flapping. That extra on the left side needs to be chopped off.
15. Cut on the line you drew and again on the seam of the paper, removing that whole rectangle pieceon the left side.
16.We will now do the same thing to the other, smaller crease. Cut on the crease and again where the end of the invite is, cutting out a small rectangle.

*I did the smaller one first, but it really doesnt matter which rectangle piece one cut out first, they both need to be cut off sooner or later*

*Cut off the rectangle piece, we dont need it*
You should now have cut out both parts that we do not need anymore. You will see why shortly if you are still unsure why we are doing this.

*This is what the bottom of your envelope should now look like.*
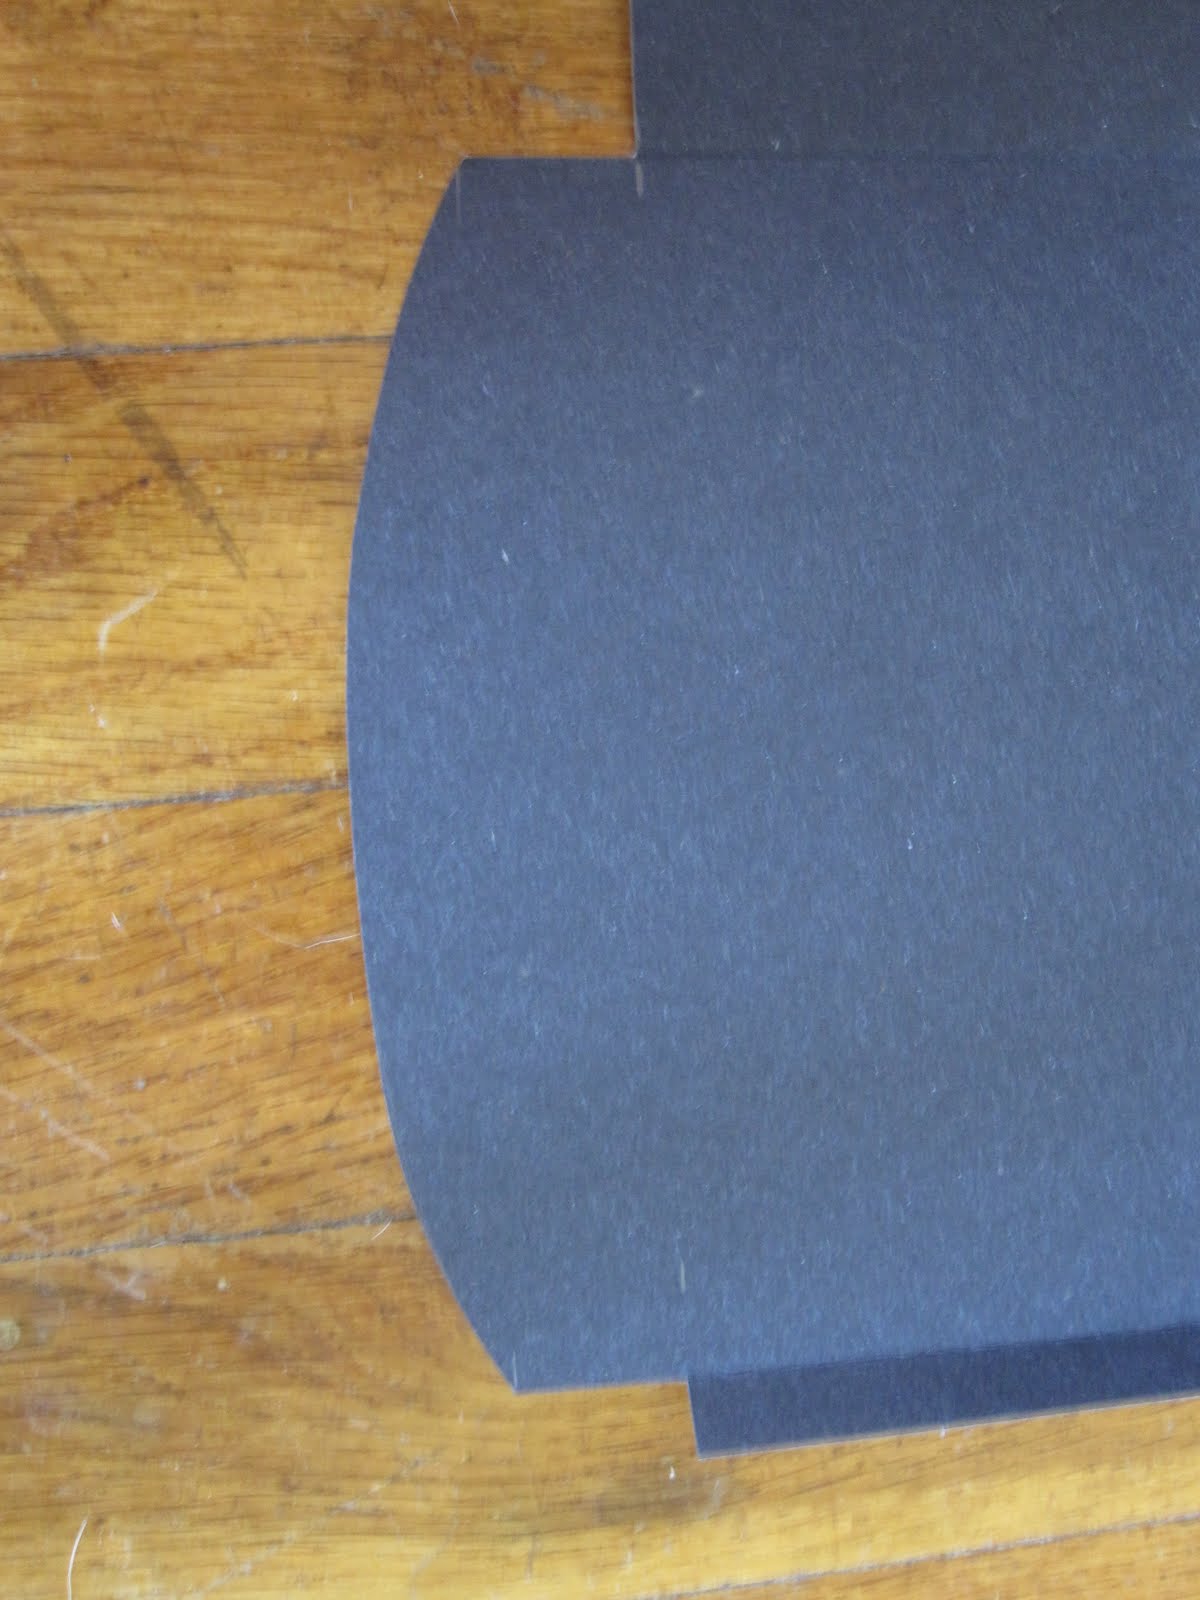
17. Most envelope folds have a soft edge. We need to get rid of the 90degree angles and create a nice looking finish. To do this, free hand a semi-circle basically close to the edge of that flap.See pic below. Start the semi-circle about 3/4 of an inch into the flap than begin to cut so your edge looks like this:

*If you want a different edge, you can create one of your own, it doesnt need to look so standard.
18.Place a ruler on the end of the flap where it will be folded in order to make a nice crease.
*It helps to take that left side of the paper and fold it back over to make the envelope before creasing the flap over. This is because, the flap needs to go over both side of the paper, not just one. If you fold it without both pieces, the crease wont work later on*
19. Fold flap over both sides of the paper.

20.Place invite back into envelope so we can see what we will need to do to the top. The top will eventually look like the bottom. Its basically the same steps.

*The ruler is there to help me decide where I will start my semi circle. You can start yours wherever you want*
21. We will need to cut out more rectangles as we did on the bottom. The whole piece above the head will really be the flap so I will cut out my sides about where the ruler is also.
22. You can draw a line across the whole paper at this point too since we will use it momentarily to help us know where to cut.

*Cut the side crease off as we did with out bottom flap*

23. Now move onto the other side of the paper and continue to cut out that side.

*Cut on the line that we drew all the way across*
 |
| *And on that middle crease* |

*This is what it looks like with all the pieces cut off*
24.Now we have to create the semi-circled edge on this flap. Start the same way we did on the bottom, by marking about 3/4 of an inch and starting our edge there.

*The pencil is showing the 3/4 inch gap I left before starting my semi circle. From that point is where I begin my sketch before cutting*
25. Cut out the finished edge to reveal our top flap.
26. Fold the left side of the envelope over again so we can fold the new flap over both sides.
27. Take the ruler and place at edge of flap so you can fold it over the ruler to make a clean crease.

28. Fold flap over the ruler

Starting to look like an Envelope? Now to make it final, Glue!
29. Take the small 1/4 fold to the right and go over the crease to make it crisp.
30. Take glue and put it on the fold from top to bottom.
31. Fold the left side of the envelope onto the smaller fold where the glue is.
32. Press and hold for a few seconds so the paper adheres to the glue.
*When it sticks to the glue, your envelope should look like this*


Starting to take some form isnt it?
33. Glue the bottom flap to the envelope. Bottom flap only! *Do not glue the top flap until Invite is inside-I know that sounds dumb, but ya never know.When your on a roll you may just not be thinking.

*After gluing, apply pressue for a few seconds so it sticks*
34. Place invite inside and make sure it goes in easily and comes out easily.

Admire your hard work! You earned it!
For directions on how to create the belly band name tags for the envelopes, check out my next blog!
Thanks for reading!
No comments:
Post a Comment